
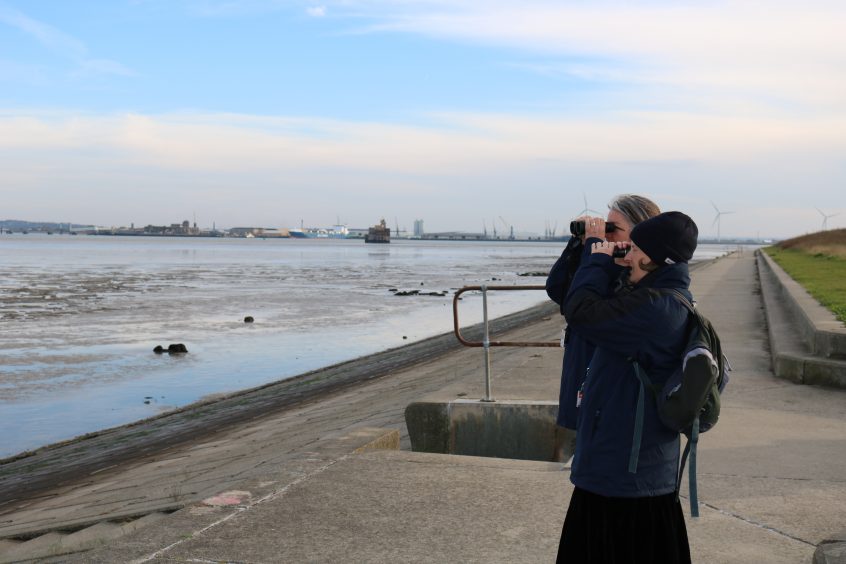
Our team are often asked which binoculars we would recommend. The problem is, that just like the bird guides we discussed in our blog last week, it really comes down to personal preference.
With so many options to choose from, Ranger Mel unpicks the different technical terms and explains how to get the most out of your optics.
A good pair of binoculars doesn’t have to break the bank but knowing what to look for is key to you achieving value for money and getting a pair that will suit your naturalist needs.
How binoculars work and what the identifying numbers mean can be a bit of a mystery to newcomers but, simply put, binoculars use series of lenses and prisms to magnify. The two built-in parallel tubes allow you to use both eyes which can be more comfortable than using a telescope or a spotting scope – where one eye has to remain closed.
Some designs have rubber armouring to protect them against damage and others fog-free features. Some can even remain watertight for 10 minutes up to a depth of 1m: a useful extra if you are working over water. Fear not though – there will be a pair of binoculars out there for everyone!
All binoculars are identified by a set of numbers such as 10 x 42 or 8 x 40. These refer to their magnification and the objective lens diameter, respectively. The objective lens is the ‘light collecting’ lens
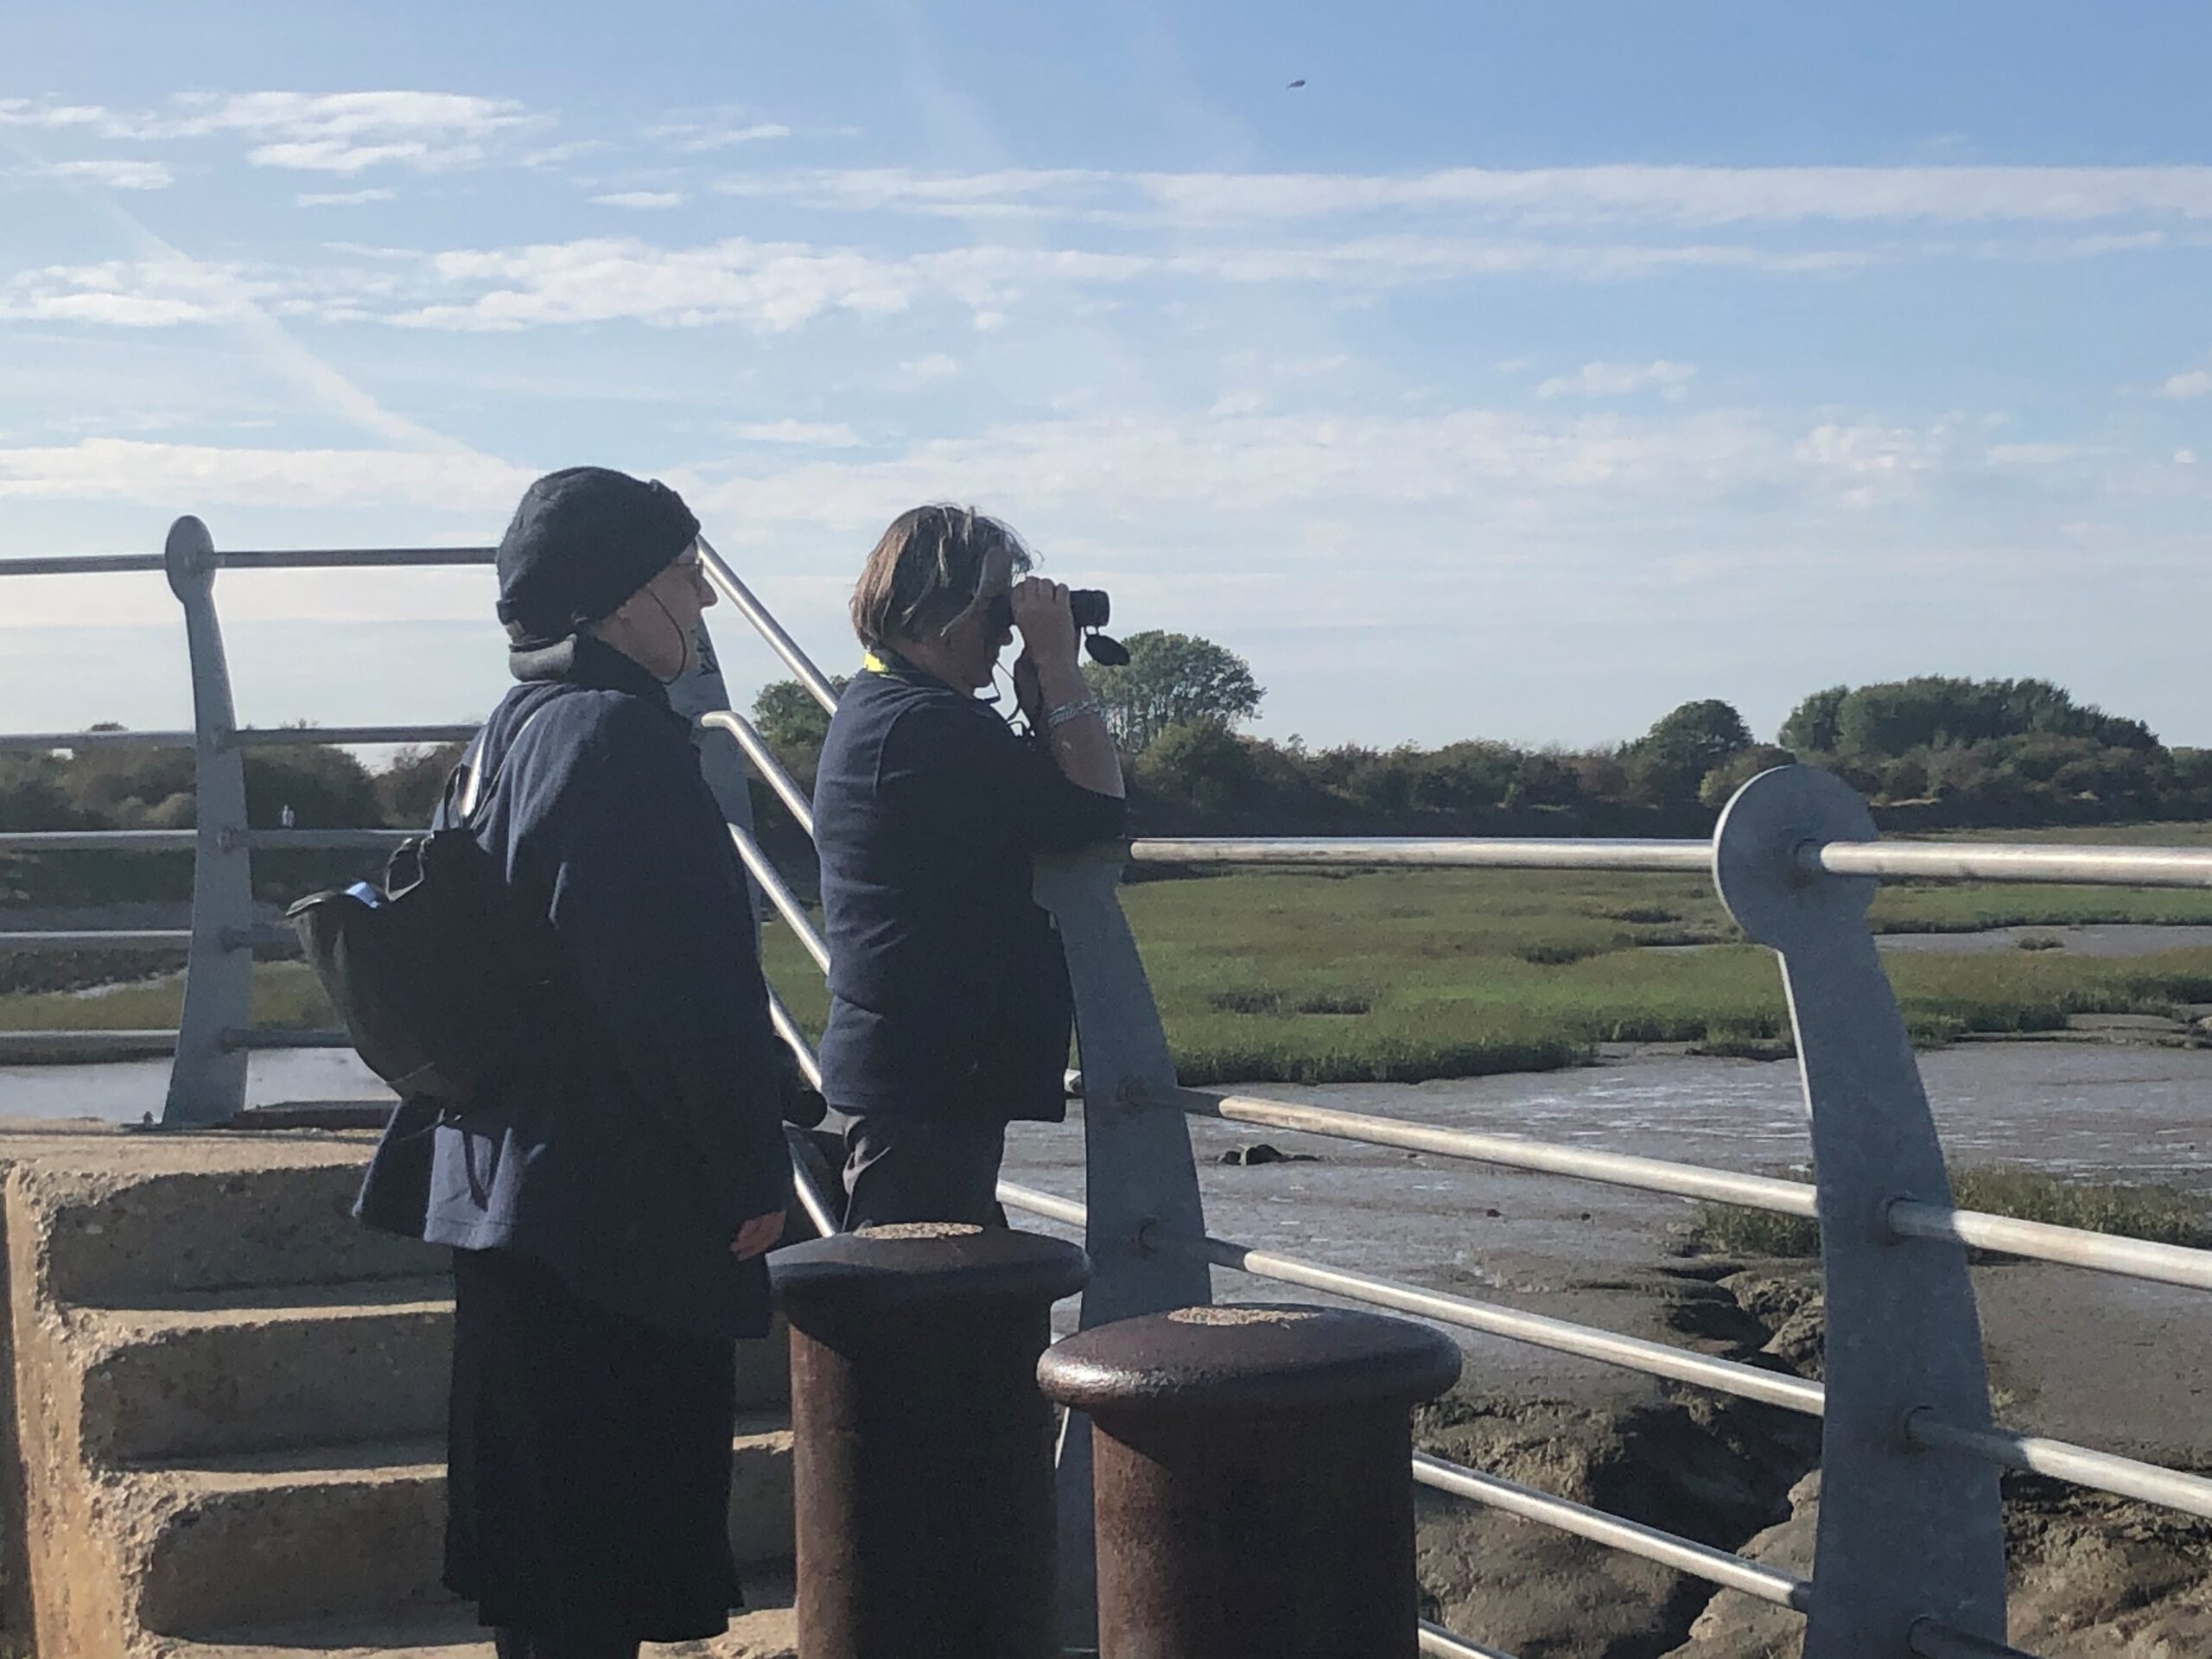
Magnification
Although there are ‘zoom’ binoculars on the market allowing you to see 30+ miles, most bird watchers prefer a magnification of 7x, 8x or 10x, and 12x would probably be the maximum one would want. Anything above this would be more difficult to use for birding because the highly magnified subject would probably appear unstable and wobbly. Remember, any swaying or vibration caused by wind would also be subject to magnification. This is when a telescope might be useful and one of the reasons birders often carry both.
Top tip: A handy fence post, car door or a low hanging branch will serve as a useful support for which to rest your binoculars on giving extra stability when the wind is up.
Objective lens
The objective lens is at the front end of the binoculars and relates to the 2nd of the two numbers (the 42 of the 10 x 42). This is the lens measurement in millimetres and its size dictates how much light will enter the optics. In cloudy conditions or at dusk, more light coming into your binoculars will result in a better image, but there is another consideration. The ‘relative’ or ‘true’ brightness of the image seen is actually a combination of the objective lens size and the amount of magnification. Dividing the diameter of the objective lens by the magnification will give the true brightness factor – and the higher the better. You can see then that 10 x 40 will give you a brighter image than 12 x 40. In other words, you lose brightness with magnification.
Optical Quality
This can be improved at the point of manufacture with special lens coatings which will enhance the colours, but at a financial cost to yourself.
Image sharpness (or resolution)
Again, another important consideration but something that can only really be determined by the buyer when they are tested prior to sale: along with the brightness factor.
Weight and size
This is an important issue especially if you need to carry your optics around your neck for long periods of time. Manufacturers will specify the weight but if you are buying online you need to know what , for example, 500g feels like! My own 10 x 42 binoculars weigh 640g including the strap. Remember that it will be more difficult to hold heavier binoculars steady.
There are lots of ‘compact’ versions on the market if weight is of a particular issue, but these will inevitably have a smaller objective lens: still great though for putting into your bag for a quick trip out, or as a second back-up pair.
Field-of-view
Field of view is the angle of the visible field. In humans our natural field of view is typically just over 210-degree forward-facing horizontal arc of view. With optics it is the field of view seen without moving the binoculars and is expressed in the sales literature as the width view in metres at 1000m (or as an angle) and commonly ranges from 80 to 150m. A good (meaning wide) field of view makes it easier to get the subject into your sights and keep it there if it’s moving: most necessary then when watching birds in flight, scanning a horizon, or when birding in an area of cover such as reeds or woods where they are bobbing in and out of branches. Generally, field of view reduces with increased magnification.
Eye relief and why it matters
When using binoculars there is an ideal fixed distance that your eye should be from the eyepiece in order for you to see the full field of view, and this distance will vary between models and sizes. If your eyes are too close (too little eye relief) then you might experience a crescent shadow shifting around the circumference of the view. If your eyes are too far away you may see a dark shadow around the whole image circumference, feeling like you are looking down a tunnel. Adjustable eyecups will help you get this relief distance right for your eyes.
If you wear glasses for distance only then you may be able to remove them when ‘binning’ as the focusing mechanism will correct your vision. For those not wearing glasses the usual setting is for the eyecups to be fully extended (or folded out) since the binoculars will have been designed for this position to give the optimal eye relief.
If you need glasses for say, Astigmatism, and need to keep them on then you will probably need to fold or twist down the eyecups – since your spectacles will be taking-up the eye relief space instead of the eyecups. Wearers of spectacles should be looking to buy optics with at least 16mm or more eye relief and look out for twist eyecups as they are more adjustable than the fold-in/fold-out design.

Depth of field
This is an optical property in human eyes which we often take for granted. In binoculars the greater the depth of field, the less you will have to re-focus in order to see birds at different distances. Obviously, some refocusing will always be necessary, but easy focusing (meaning the least revolutions of the focus wheel) will allow you to seem more birds, more quickly, at different distances.
Waterproofing
Most people won’t require their binoculars to remain waterproof for 10 minutes under 1 metre of water – even though that feature is available at a cost! But you won’t be wasting your money paying a bit extra for waterproof kit. Moisture getting into the optics will make them mist up and so waterproofing could mean the difference between a good day’s birding and running for cover at the first sign of drizzle!
Close-up viewing
From personal experience, the more I look at birds in the field, the more interested I become in other areas of natural history such as plants and insects. Close-up focusing will vary between brands, but I’ve just tested my 10 x 42 pair and I can get sharp focus at about 2.3 metres, but no closer. That generally suits my purposes and anything closer than that, I would use my camera for closer zoom.
Summary
If possible try out a few pairs at the same time and the importance of some of the variables listed above will become more obvious. The RSPB run events where you can try out equipment and get personal advice. Some of their events have been cancelled due to the current Covid restrictions but keep your eye on their webpage as things change.
‘Birdfair’ runs annual August events at Rutland Water offering, amongst other things, an array of optics to try out. Although cancelled this year, they hope to return in 2021 so look out for this great annual event in the birding calendar.
In summary:
- check out the reviews available and hear what other people’s experiences are
- try out a few pairs in lower light conditions and at various distances
- main things to decide upon are magnification, relative brightness and weight
- either 8 x 40, 10 x 40 or 10 x 42 would be a good place to start
I use magnification 10 because I mainly view coastal birds out on the tide line but, as with most things, it’s a matter of personal preference depending on your intended use.
The dioptre and how to use it
We were running a bird walk last year and I couldn’t work out why one of our participants couldn’t see with his binoculars what I could see through my binoculars! I soon realised that he was new to birding, and more importantly, had never used optics before, so we thought it a good idea to state this fact: most binoculars will need an initial set-up by adjusting the dioptre.
Some people don’t notice that there is a dioptre and consequently can move it accidently – thinking then that there is a fault with their equipment. Setting it is simple to do: the purpose being to ensure the binoculars are compensating for any differences you may have in your own eyes. Once set for your eyesight, then the two barrels should stay in proper relation. From then on you only need to focus as you would do normally using the central focus wheel.
The dioptre adjuster is usually on the right or left eyepiece (sometimes on the central focus wheel) and will have a + and -, sometimes with a number scale too.
Let’s assume for now it is on the right-hand eyepiece. Start by putting the dioptre dial to zero / or the central position. Look at an object in the middle distance (something that won’t move like a fence post or shed) and close your right eye (the dioptre side). Come to a sharp focus using the central focus wheel. The left barrel (non-dioptre) is now fully focused on that object. Now close your left eye, and without moving the central focus ring or moving from the object, open your right eye and gently turn the dioptre dial one way or the other to sharpen the focus further. And that’s it! You won’t need to adjust it again every time you use them, and once done, note the position so you can give it a quick check now and then to make sure it hasn’t accidently moved in transit.
If you let someone else use your binoculars they may need to re-set for their eyes – and then you’ll have to re-set back again. Hopefully they will tell you if they have moved it, but lockable dioptres are available on the more expensive models to save you the trouble!
Happy birding
Ranger Mel